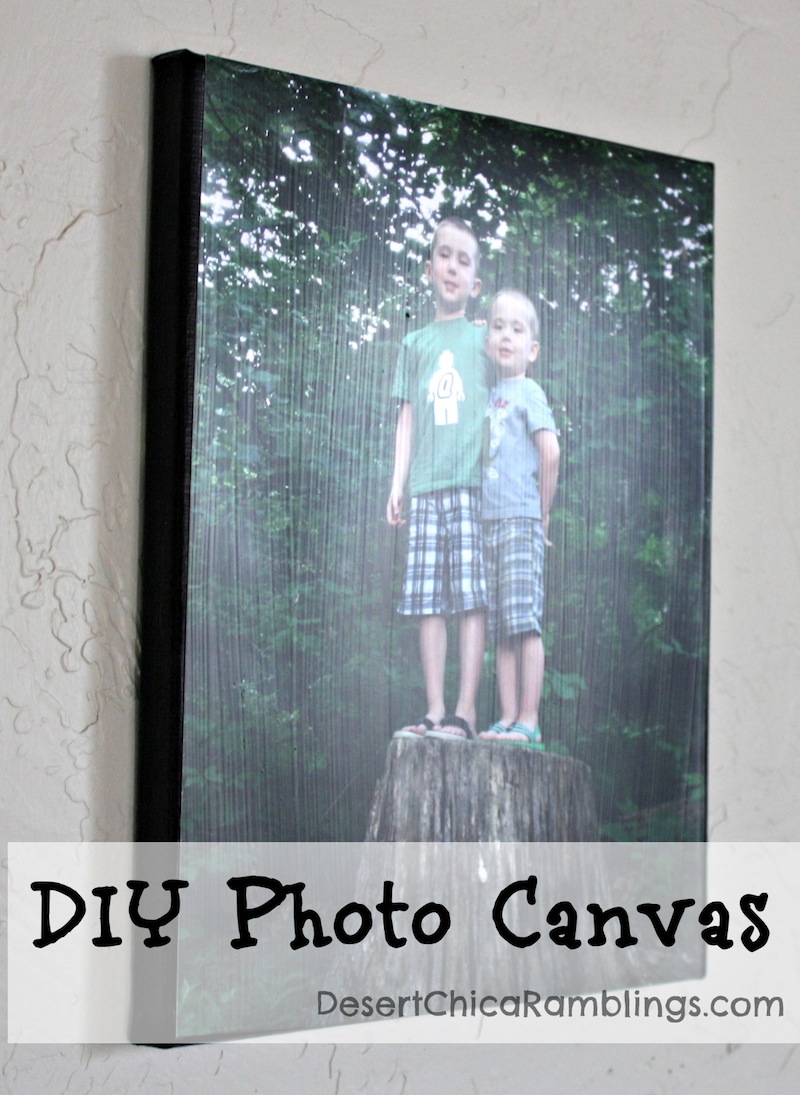
Are you looking for a crafty gift for your family? Or want to save money on fun photo decor? Check out this simple way to make a DIY Photo Canvas.
Photo Canvases are fun and I would love to give new ones to my family every year with the boys pictures. Unfortunately that can get expensive even if you find a great deal.
Making my own photo canvas gifts have been on my crafty to-do list for a while. It’s one of those projects that sounds easy but I always worried is much harder than it looks. I was so wrong! Making your own DIY photo canvas is a project everyone can do!
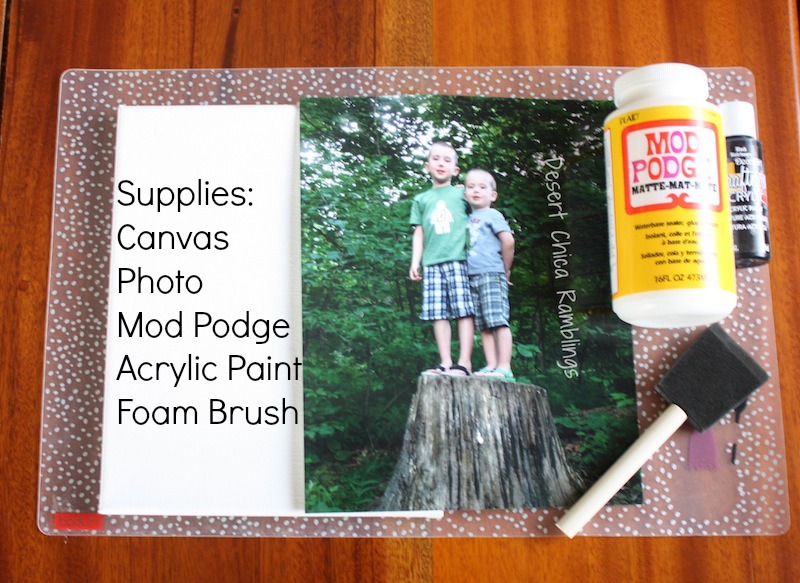
I bought blank canvases from Michaels using a coupon. You also need Mod Podge, acrylic paint and foam brushes, some of which you might already have if you craft a little. And don’t forget the photo. 😉
I love to take advantage of the free Walgreens 8X10 offers that pop up throughout the year. Or you can print at home if you have that capability, I have a B&W Laser printer so I have to rely on printing photos elsewhere.
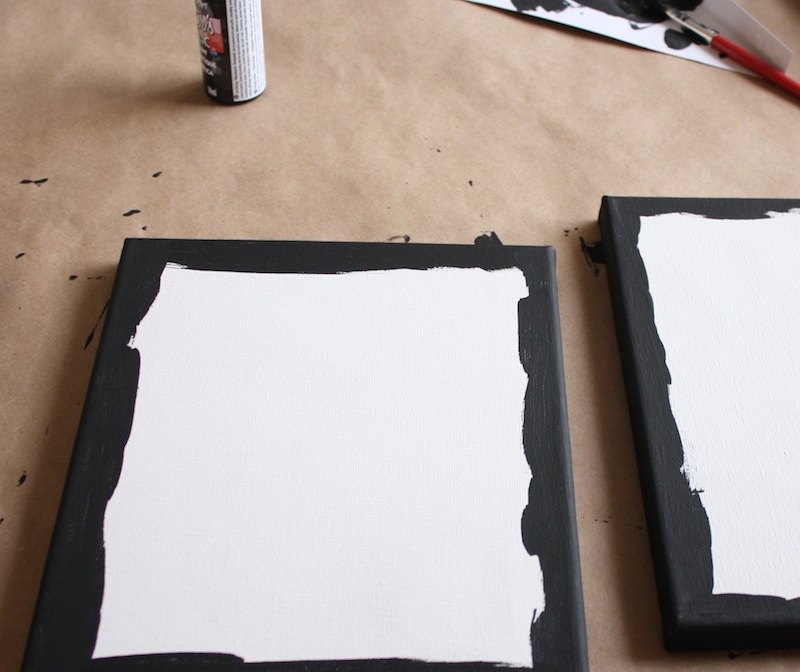
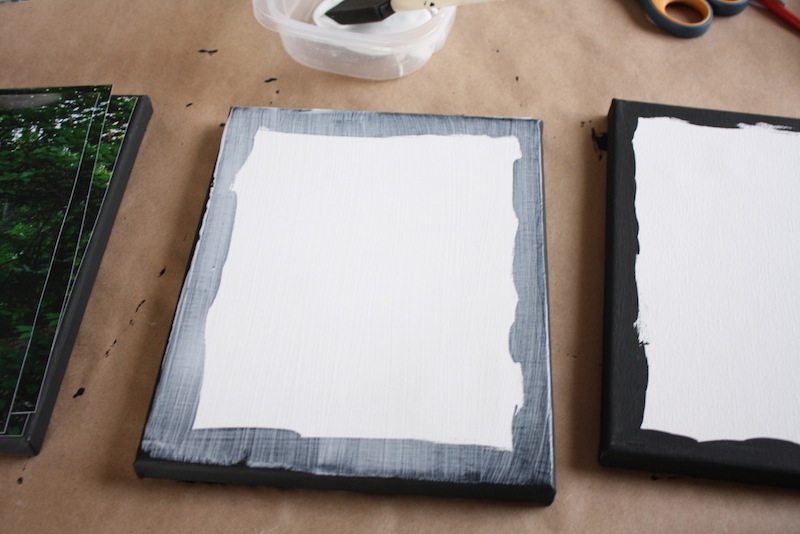
Start by painting the side edge of the canvas any color you like. I stuck with black to make it easy. You also want to paint a little bit around the top edge of the canvas as well. That way once you trim the photo a little bit to fit on the canvas, no white will stick out along the edge of the picture.
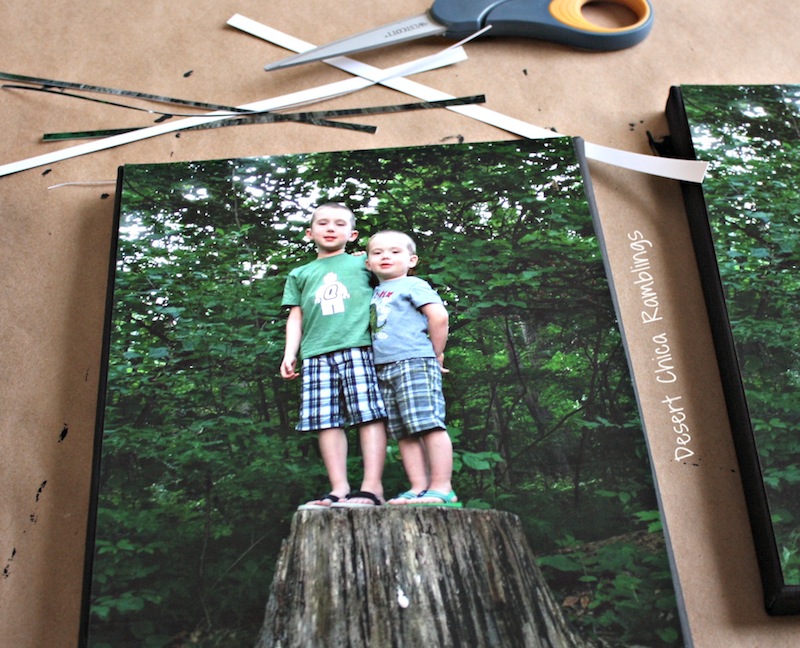
When trimming the picture you want to carefully trim the picture so that it fits on top of the canvas without any of the photo hanging over the edge. This is where a paper-cutter would be handy. I am terrible at cutting straight lines!
ONCE THE PAINT IS DRY… Notice I yelled that part, then you can move on to the next step. Don’t rush it, I tried and had black streaks in my Mod Podge.
Cover the top and sides of the canvas with Mod Podge (using a different foam brush). Then carefully place the photo on the canvas.
The Mod Podge is the “glue” that will hold it in place. Let the photo sit a few minutes then carefully paint the top of the photo with Mod Podge using long straight strokes.
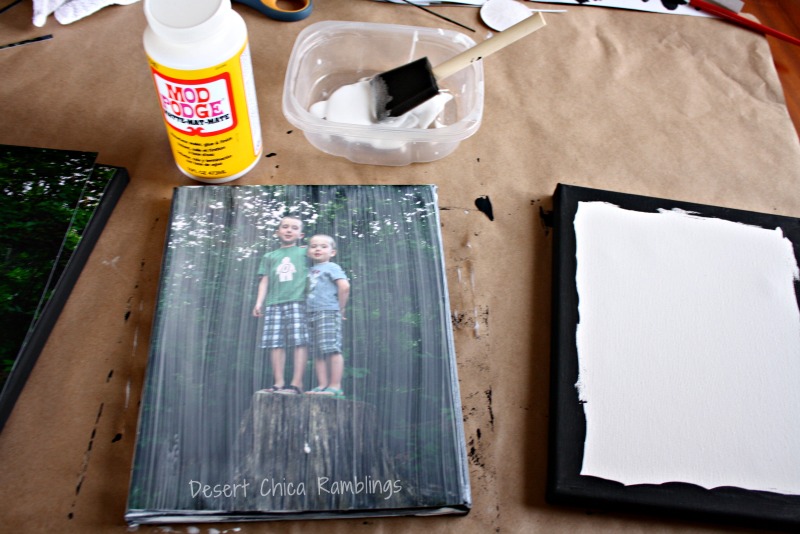
For those of you that’ve never used Mod Podge before don’t worry that it brushes on white, it will dry clear. The Mod Podge creates a fun textured look to the photo canvas.
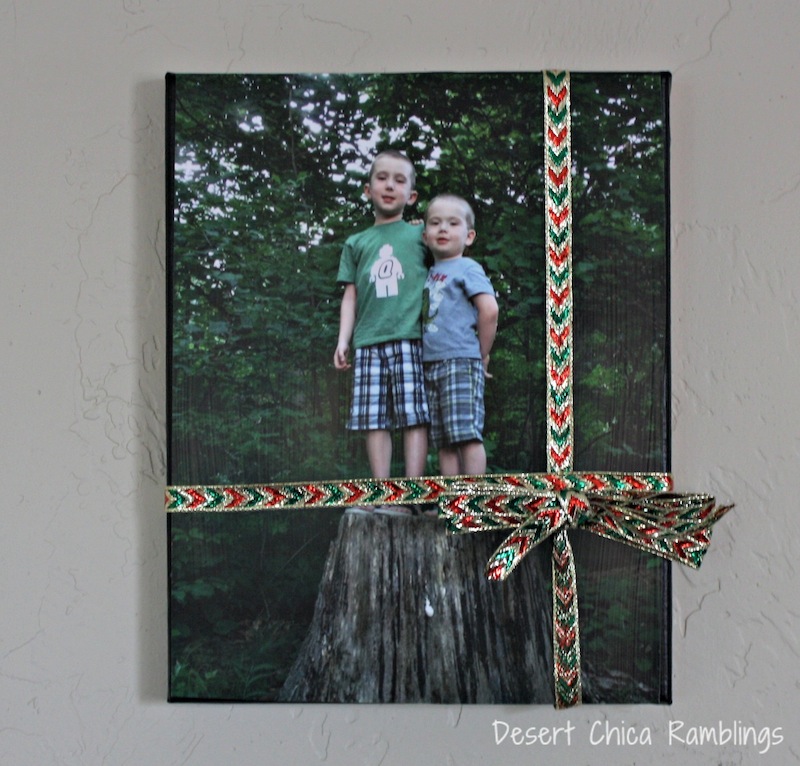
If you are looking to spice up your DIY photo canvas project, consider embellishing the photo in PicMonkey or Canva before printing. This is a picture I cropped, converted to black & white and then added text too. There are lots of fun options and you can find lots of tutorials online.

Again this project is really easy and is much cheaper than ordering them through a company! It’s a great homemade gift idea for friends and family!
Do you give homemade gifts?
This post was originally published December 21, 2013.


Belinda says
What a neat idea! I’m going to do this for Mother’s Day! Thanks 🙂
Elena says
What’s the difference in mod pudge matte or glossy for the pictures? Does it affect it any different?
Karen says
I am guessing just the look of it. I’ve only used the matte version!
Janice Moore says
Great gift to make. I want to try it on a fifth generation picture.
Marissa says
Love this!! I’ve seen some people print a color photo out on normal paper, do you know if one works better than the other? (Photo paper vs paper) thanks!
Karen says
I’ve never tried it with regular paper, only on photo paper usually printed from Walgreens.
steph says
Do you have to use photo paper for the prints? Or can you print them on normal 8×10 white paper?
Karen says
I actually just use prints from Walgreens, I love picking up the free 8X10 photos when the deal comes around. If you were going to print the pictures at home, I would use photo paper.