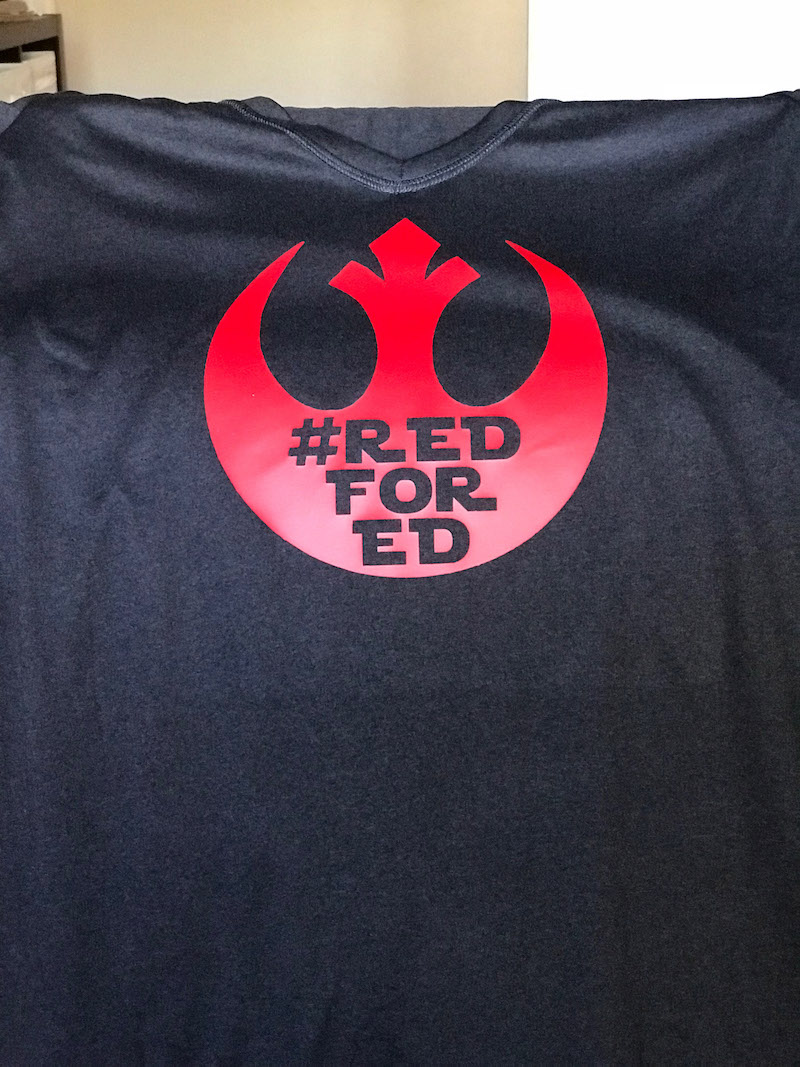
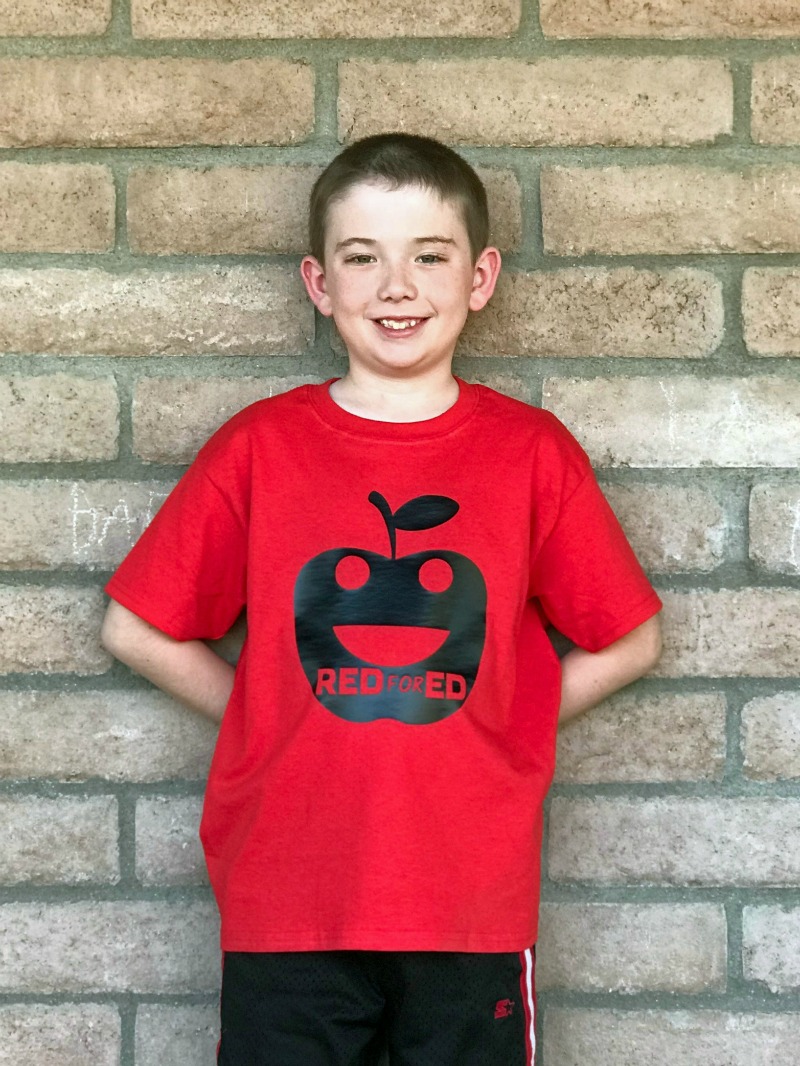
Elliot and I whipped up a couple of Red For Ed t-shirts to show our support for the Red For Ed Arizona movement. We’ve been wearing any red t-shirts to support our teachers and school but Elliot really wanted an “official” red for education shirt design to wear.

So I broke out my Cricut Maker and we worked on a couple of fun t-shirt designs.
Red For Ed Arizona
Is it any surprise that I wanted a Star Wars Red For Ed shirt design? The Alliance Starbird is a symbol of hope, in this case, hope that we can actually adequately fund education in Arizona.
I don’t love the color red, so I opted to cut my design out of red vinyl and press it on a black shirt.

DIY Red For Ed Shirt
As cool as I thought my Star Wars design was Elliot, insisted on an apple design with a fun face. We tweaked it a couple of times until he was happy with the way it turned out.
I cut his design out of black iron-vinyl and used my Cricut EasyPress to press it on a red t-shirt.

Download Our Red For Ed T-Shirt Designs
I’ve made it easy for you to make the same shirts. Just click the links below to download my red for ed t-shirt designs. Then using the designs with your own cutting machine. New to using Cricut? Scroll down for a few screenshots that might help.
Star Wars Red For Ed Shirt Design
Smiling Apple Red For Ed Shirt Design

What is Cricut Design Space?
Cricut Design Space is the cloud-based Cricut program that allows you to design and create your projects with your Cricut machine. It’s available on PC and Mac computers, and iOS and Android devices.
How do I upload my own image in Cricut Design Space?
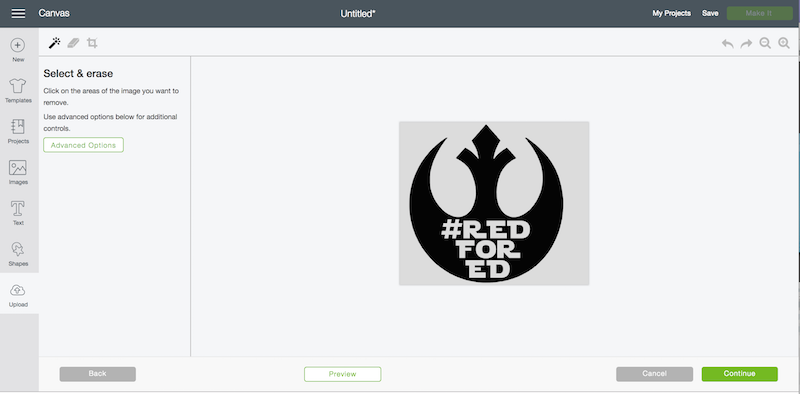
If you already have an image you want to use in Cricut Design Space, it’s easy to upload into your account. Start by clicking upload from the left side of the screen, then ‘browse’ to select the image you want to upload from your computer.

You will be asked to select the image type, both of my #RedForEd images are simple image types. You will be asked to select the areas of the image you want to remove from the design. In this case, you want to delete the box surrounding the design and also the text inside the design.

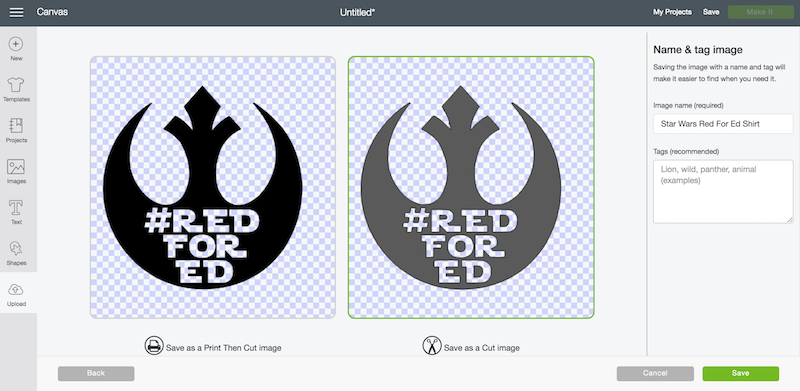
You will have two different options for saving the image. Either as a Print Then Cut image or Cut image. Select the “Save as a Cut image” option. Note both versions have a ‘checkered’ background indicated what parts of the design were deleted in the previous step.

Once you have the image inserted into your canvas you can play with the overall size of the image or customize the design further.

When you are ready to cut your vinyl, be sure that you select ‘Mirror’ image whenever you are working with iron-on vinyl.

For more detail instructions and additional help, I recommend checking out the Cricut Help Center.
This post was originally published April 22, 2018.


Dan says
Are you selling the rebel alliance ones?
Karen says
Hi Dan,
I don’t sell any products, you can download the file and make one yourself or find a crafty friend and ask them to help!
Jolene Reyes says
I inserted the image on my cricut and went through the whole process and it didn’t work. It ended up just cutting out the square image but no actual writing or resistance image. I’m really bummed out. Please help.
Karen says
Hi Jolene,
I just sent you an email with some screenshots of the process. I hope that helps!
Jenn says
We are new at the cricut. I downloaded your photo but when we tried to pull it into the cricut design space it showed up just a big black square. Help!
Karen says
Hi Jenn,
I just sent over some screenshots of the process, I hope that helps. And since you are the second person to ask questions this week, I went ahead and uploaded them into the post as well. Hopefully, it will help other new Circut users as well.