
I considered buying capes for our Batman and and Robin family costumes but I couldn’t find a great deal and I really do love to DIY our Halloween costumes when I can, so I decided to give it a go!
There are lots of superhero cape tutorials out there and plenty of them are offer “no-sew” options. However I didn’t find any no sew superhero capes using satin. And as silly as this may sound, I really wanted our capes to be “satiny”. So I created my own crazy method as I went and I’m sharing it with you!
No Sew Superhero Cape Materials
- Satin – I spent $15 on 6 yards using a coupon, I only needed 4 yards though for 4 capes.
- Elastic Cord
- Velcro Squares
- Fusible Web
- Hot Glue Gun
- Iron
We already own a few superhero capes, including 2 awesome curvy edged custom capes. They are awesome but definitely more complex than I wanted to try to make. Thankfully we also have a green cape that is a simple rectangle in shape. Yay for straight lines. 🙂
I had Peter try the green cape on for size since he would need the biggest one. The green cape fit him fine, so I used those dimensions as my starting point for the adult capes. I ended up using the same width for the boys’ capes but cut the length in half.
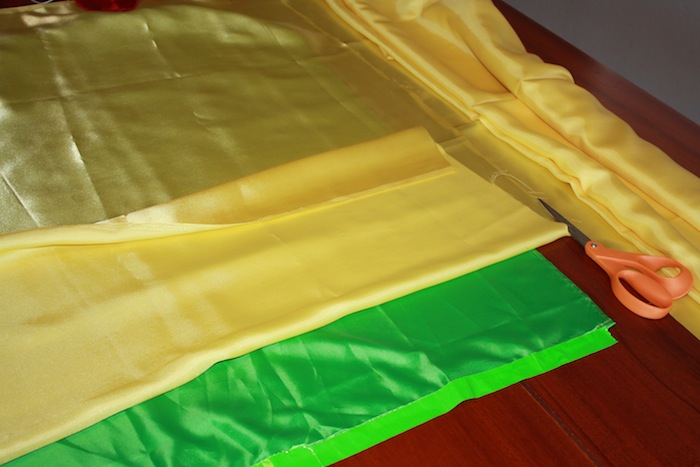
The width of the satin from the bolt was ~44 inches which worked well for the length of the adult capes. The boys had ~22 inch long capes. The width of all the capes was ~28- 30 inches after I “hemmed” them. So add a few inches on for hemming purposes.
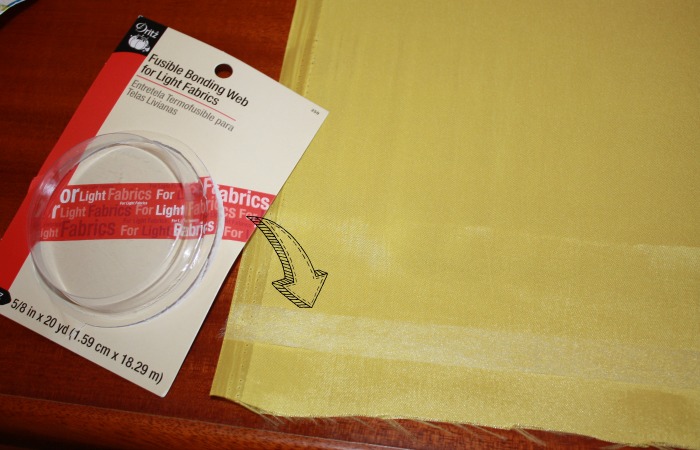
And of course by hemming I mean ironing with fusible bonding web. Fusible web is pretty awesome in my book especially for Halloween costumes! 🙂
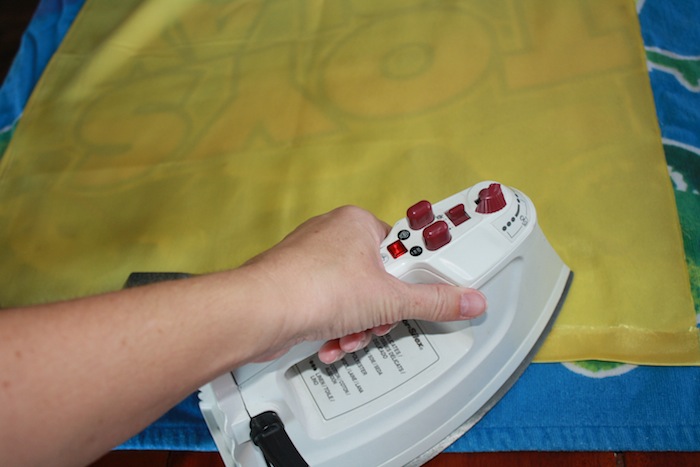
Once you fold the hem over the fusible web, simply follow the ironing instructions to “hem” your edges.
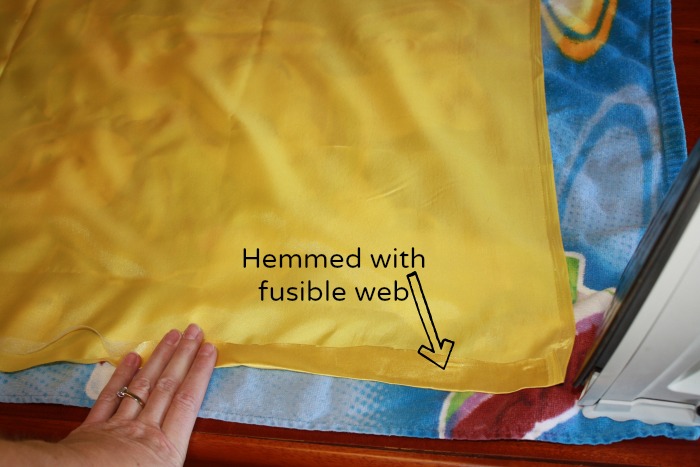
My “hemming” wasn’t perfect but it did the job finishing the cut edges. You need to wait to hem the top of your cape until after you attach the elastic to the neck.
Figuring out how to make the cape neck gather was the hardest part of the project. I examined our green cape closely and guessed at the mechanism and just replaced the sewing the elastic with hot glue and hemmed again with the fusible web. Easy right?!
The no sew cape neck
I recommend doing a rough measure of the elastic around each person’s neck to make sure it won’t be too loose or too tight. It should easily fit around their neck – 15 inches is a good starting point for most capes. This isn’t an exact science and there is wiggle room on the length.
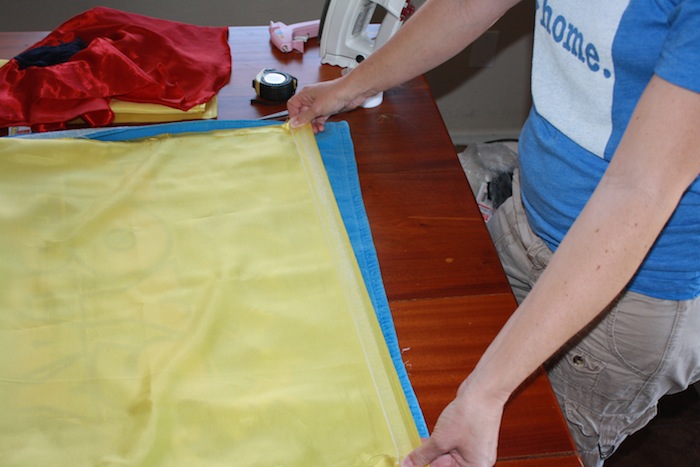
Hot glue the ends of the elastic to the top corners of the cape (on the inside). I recommend gluing 1/2 – 1 inch down, you will need to fold the fabric over and the hem the top of the cape over the elastic afterwards.

After letting the glue harden, hem the cape neck keeping the elastic cord inside the hem. It gets a little tricky here. Hold the top of the cape taut (stretching the elastic) and then fold it over to “hem” the top edge with the fusible web.
This can get tricky without an extra set of hands. A dumbbell can help hold one side of your fabric while you stretch the fabric and fold over to hem.
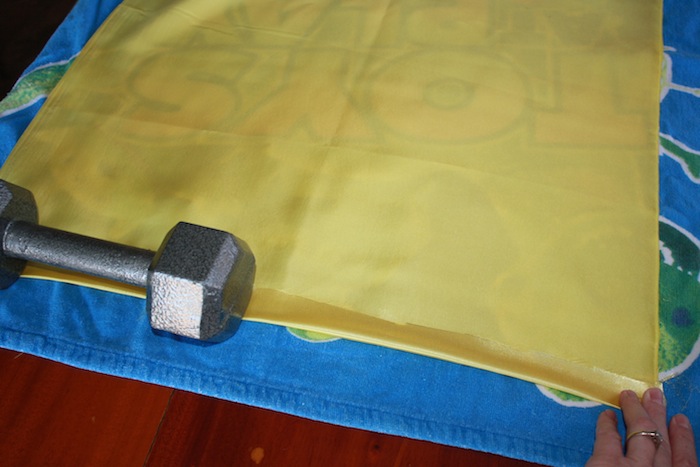
Once you let loose, the elastic retracts and the material gathers around the neck. Yay!
Using velcro to fasten the capes is the safest option in my opinion. Simply hot glue velcro squares to the top corner of the capes.

I was surprised by how easy these were to make (once I realized a simple rectangle shape could work). It does take a little time but I think it’s worth it. 🙂
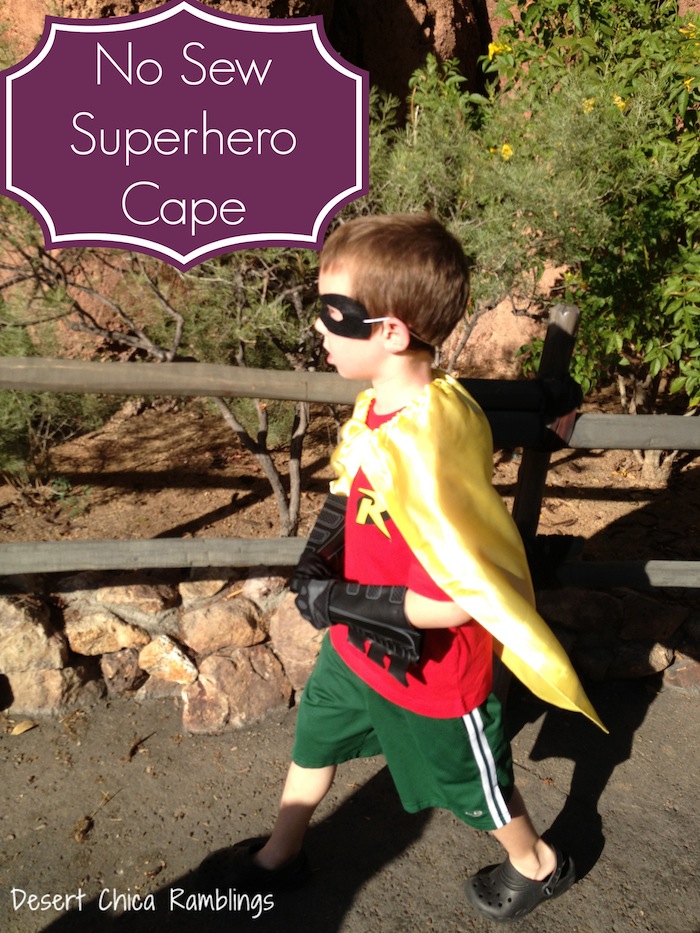
How did the capes turn out? Pretty darn good if you ask me! 🙂
 You can see the cape is longer on Elliot than Quinn because I kept the design simple, one length for the kids and one length for the adults. I think they look great at both lengths! They held up well at Mickey’s Halloween Party and will be making at least 3 more appearances between Halloween parties and school festivals!

Holy Disneyland, Batman!

Gianna says
Thanks for the idea, my kids love capes!
Suzanne Hagen says
Hey thank you for this. I am in a mud race and we are superheroes. And since mud is involved the cape will be ruined. Most capes cost so much. I will give this a try since I made my own tutu why not my own cape. Thank you Sincerely Suzanne
Karen says
Awesome!! I am so glad I could help. Good luck on your race!!
Kathleen says
Thanks for this post. I was hoping to make my own cape and still keep the silky look. I have a question. I wanted to add a design on the cape like a cut-out lightening bolt and a letter K. What type of material would you recommend and would I just use hot glue gun? This is for a costume I’m making for a Miami Dolphins superhero. So really want a fabulous cape!
Thanks!
Jessica says
Where were the hight and width dimensions you used for the adult Cape?
Karen says
“The width of the satin from the bolt was ~44 inches which worked well for the length of the adult capes. The boys had ~22 inch long capes. The width of all the capes was ~28- 30 inches after I “hemmed” them. So add a few inches on for hemming purposes.”