My boys love athletic tech shirts, made of sweat-wicking, soft fabric. So I love this new SportsFlex Iron On vinyl that Cricut is selling!
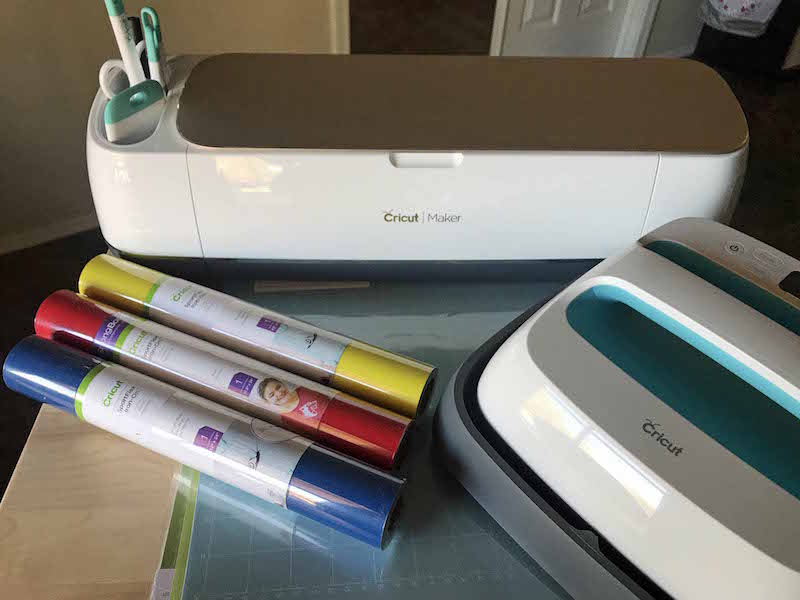
Today I am sharing how to use SportFlex Iron-On as part of a sponsored post with Cricut. SportFlex Iron-On is Cricut’s newest product made specifically for tech fabrics like polyester activewear because they are flexible, stretchable iron-on sheets.
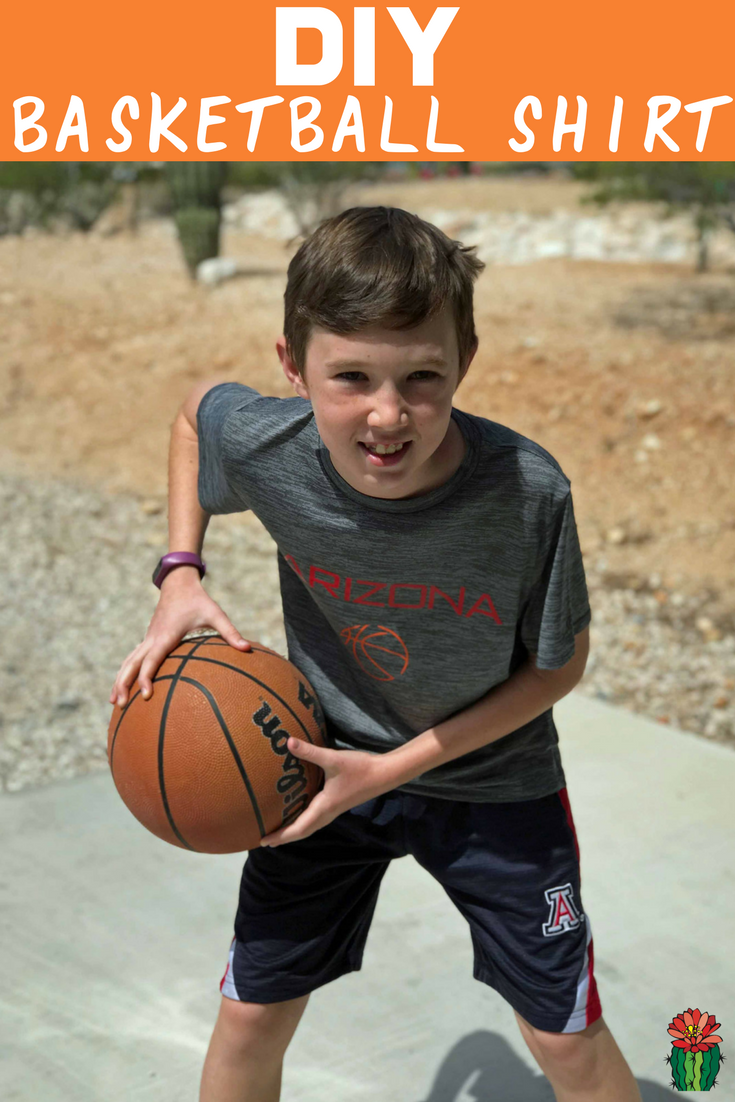
DIY Arizona Basketball Shirt Materials
- Plain athletic/tech material shirt
- SportFlex Iron-On, Orange
- SportFlex Iron-On, Red
- Cricut Maker
- Cricut EasyPress and EasyPress Mat
How to use SportFlex Iron-On
The good news for Cricut Iron-On users is that SportFlex is very similar. It’s just a much better product to use on polyester and nylon items. It’s perfect for customizing athletic shirts and shorts, swimsuits and rashguards. You can layer SportFlex Iron-On on top of each other but Cricut doesn’t recommend more than two layers at one time.
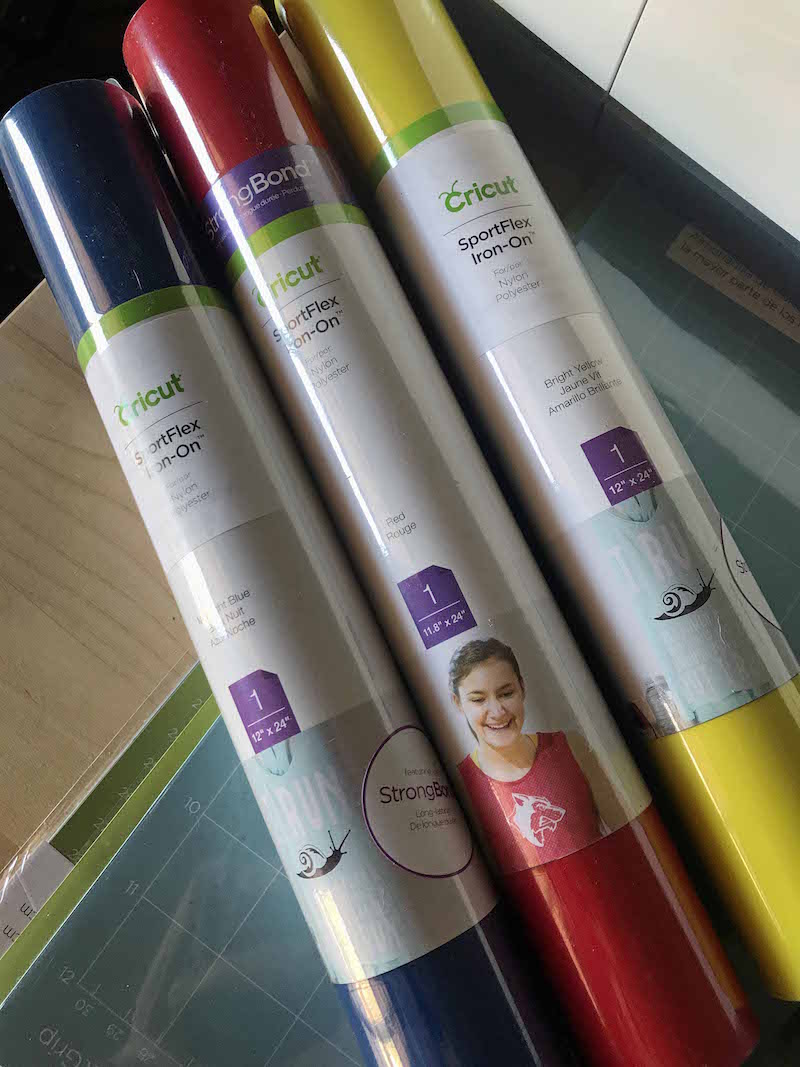
SportFlex Iron-On Colors
The SportFlex Iron-On comes as one 11.8 x 24 inch sheet and is currently available in the following colors:
- Orange
- Red
- Midnight Blue
- Bright Yellow
- Fucshia
- Metallic Gold
- Metallic Silver
- White
- Gold
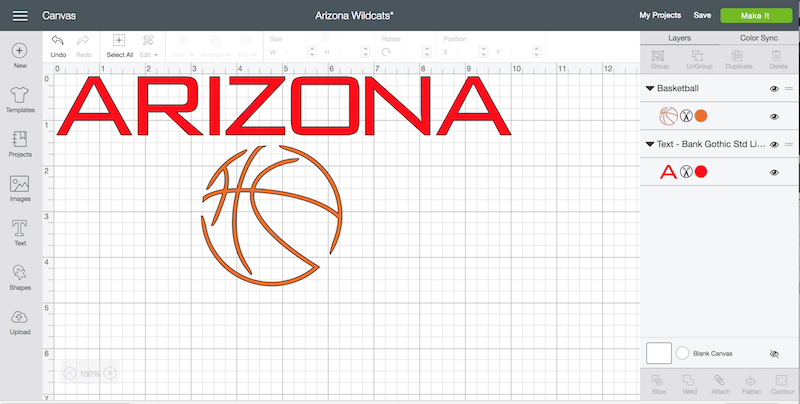
Create Arizona Basketball Shirt in Design Space
Cricut Design Space offers a ton of font and image options you can use to design your own sports team shirt. Or you can use the Arizona Basketball design I created, you can easily customize to your favorite sports team if you aren’t an Arizona fan.
This is a great way to customize team jerseys for your favorite school or community teams. I do recommend keeping designs simple if you are making lots of shirts though. There is no need for complicated weeding and design placement for a sweet sports shirt.
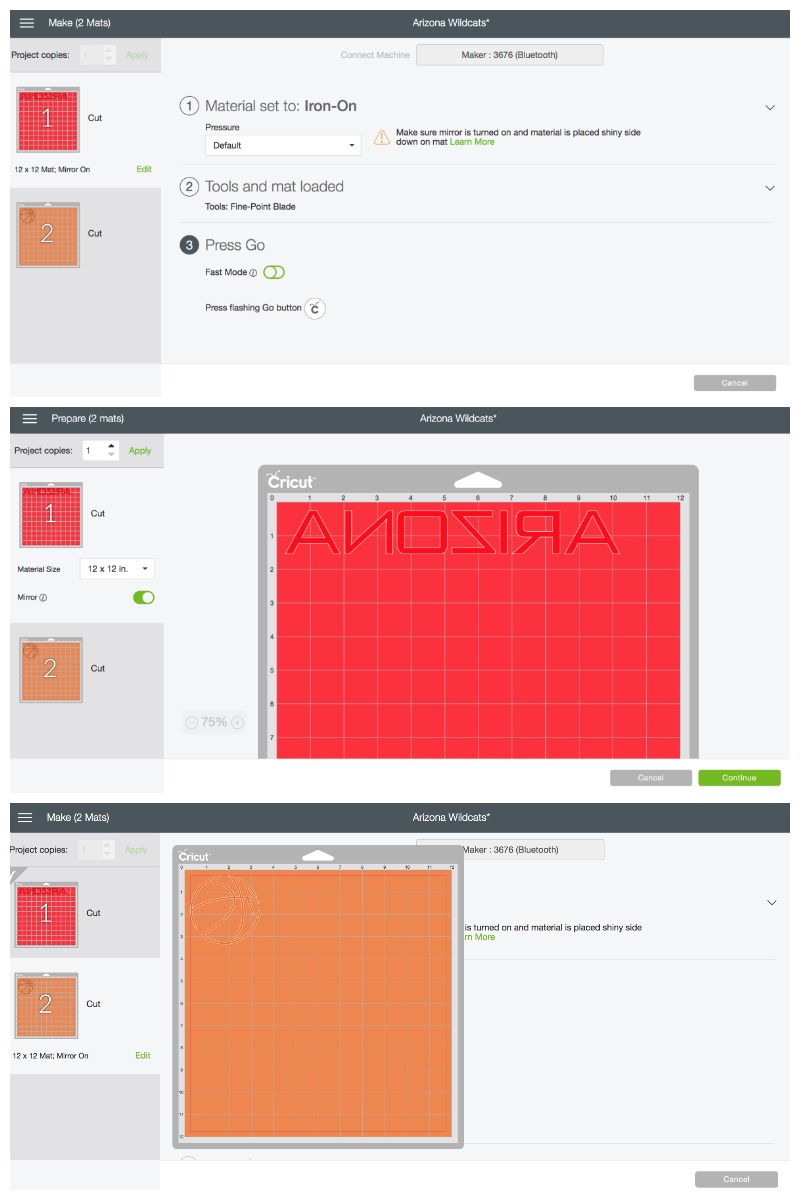
Cut SportFlex with Cricut Maker
Once your iron-on design is ready, click the green make it button. Turn on the mirror function and set the material to Iron-On. Prep your cutting mat by placing SportFlex Iron-On shiny side down and insert into your Cricut Machine. Press Go!
Press SportFlex Iron-On with Cricut EasyPress
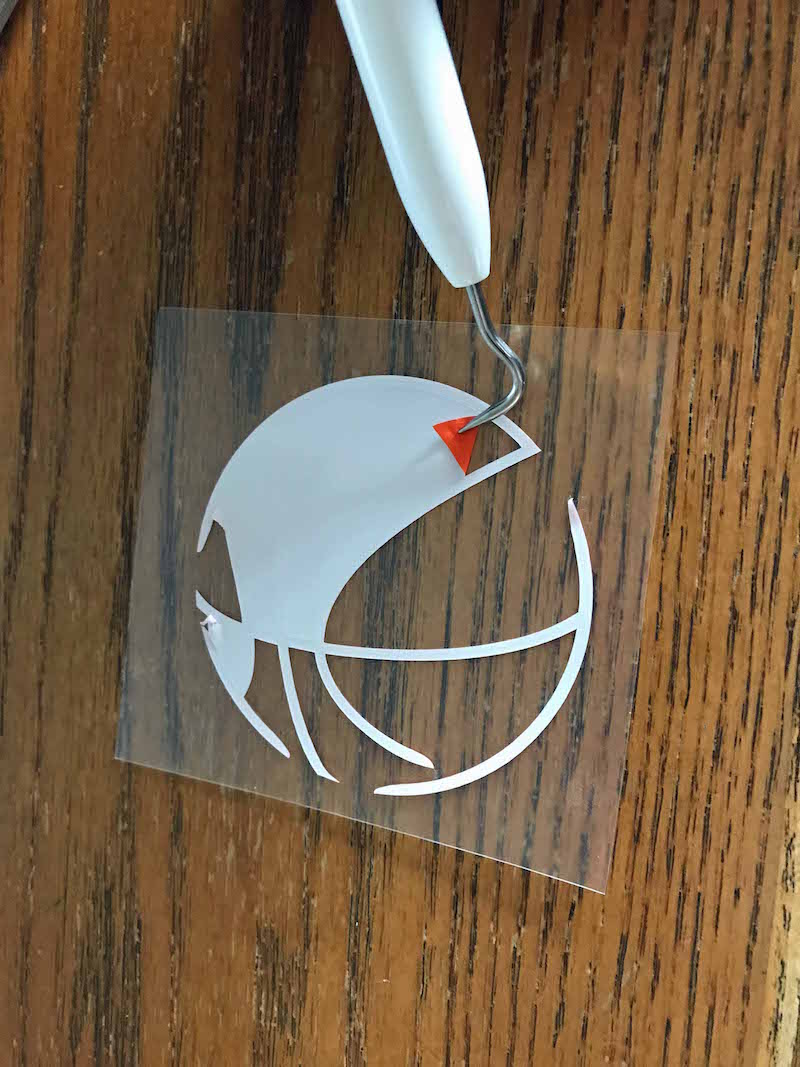
- Once your design is cut, remove it from the cutting mat and weed out the excess material.
- Layout your iron-on design on to your shirt to determine the best placement.
- Turn on your EasyPress and set the temperature to 315 degrees.
- Once it reaches temperature, remove the iron-on and preheat the material where you are placing the design for 5-10 seconds.
- Put iron-on back in place and use the EasyPress for 30 seconds.
- Turn the shirt over and press the back of the material for 15 seconds with the EasyPress
- Then carefully remove the plastic coating off of the design.
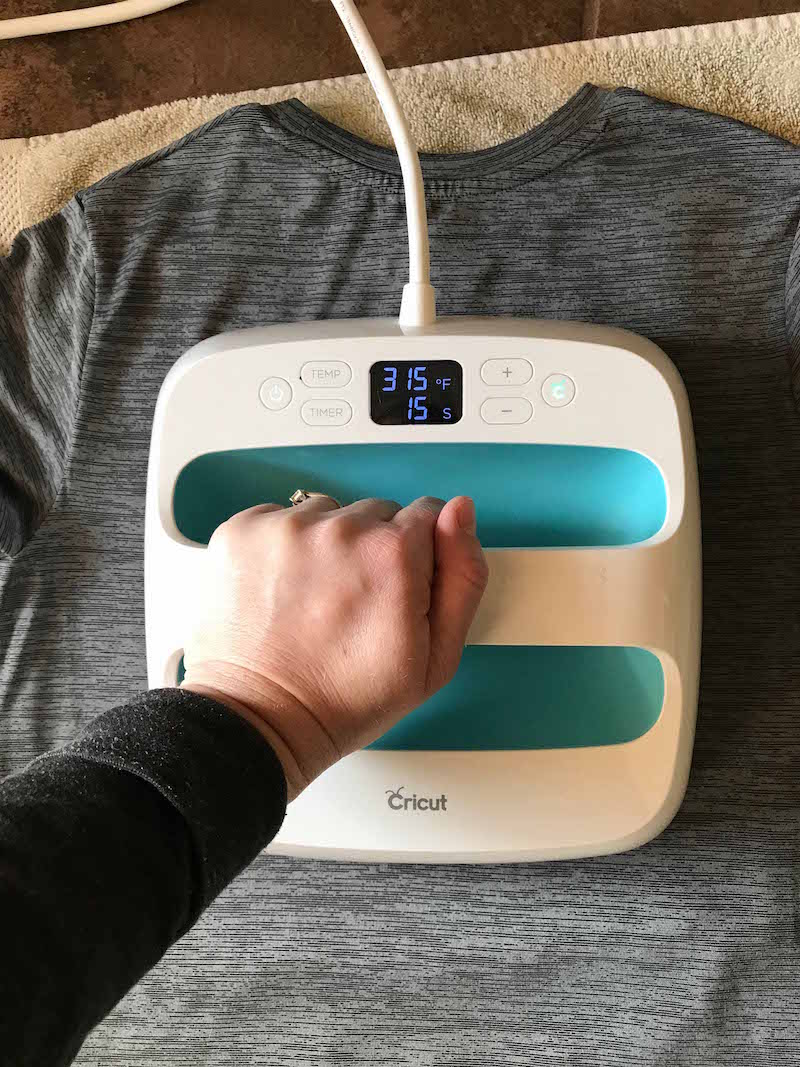
If the design has trouble adhering to the material when removing the plastic, press again with medium pressure. I used the Cricut EasyPress settings for pressing. If you are using a towel, set your EasyPress to 315 degrees. If you’re using the EasyPress mat, set your EasyPress to 305 degrees.
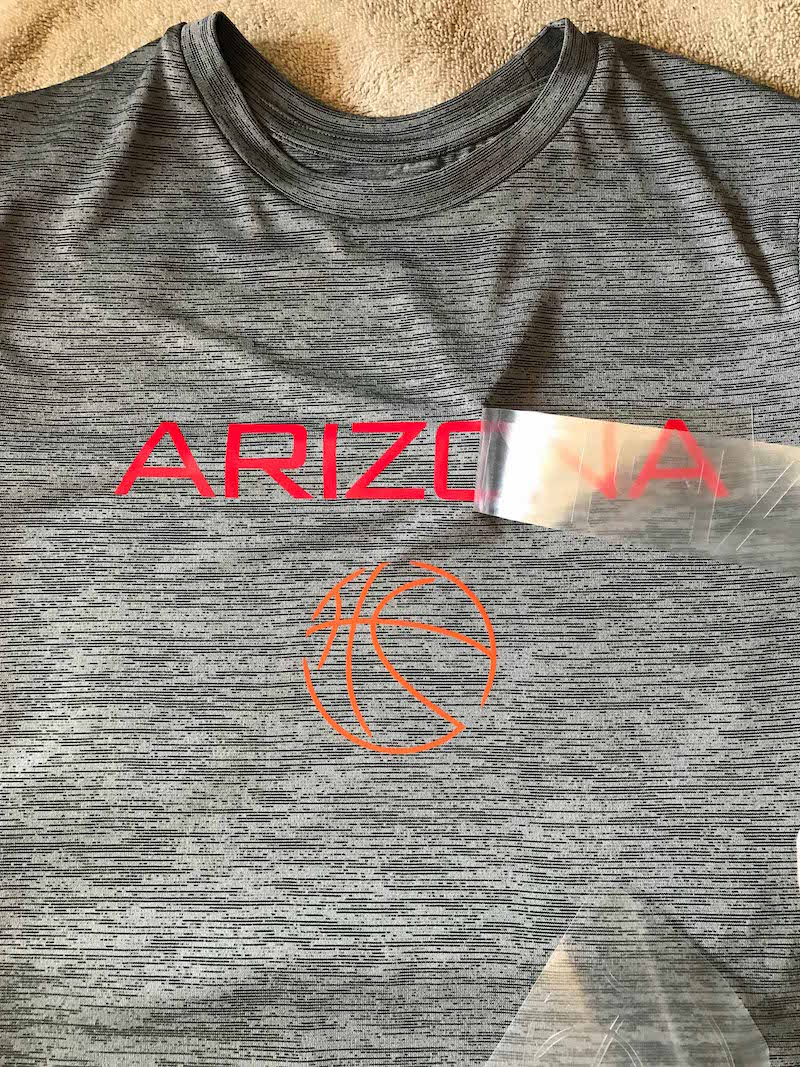
Arizona Basketball Shirt

Now you are ready to play a little basketball with your new shirt! I can’t wait to make a few more custom shirts for my boys and also cool rash guards for swimming. The Arizona sun is legit and rash guards keep my boys from frying like lobsters during the summer!
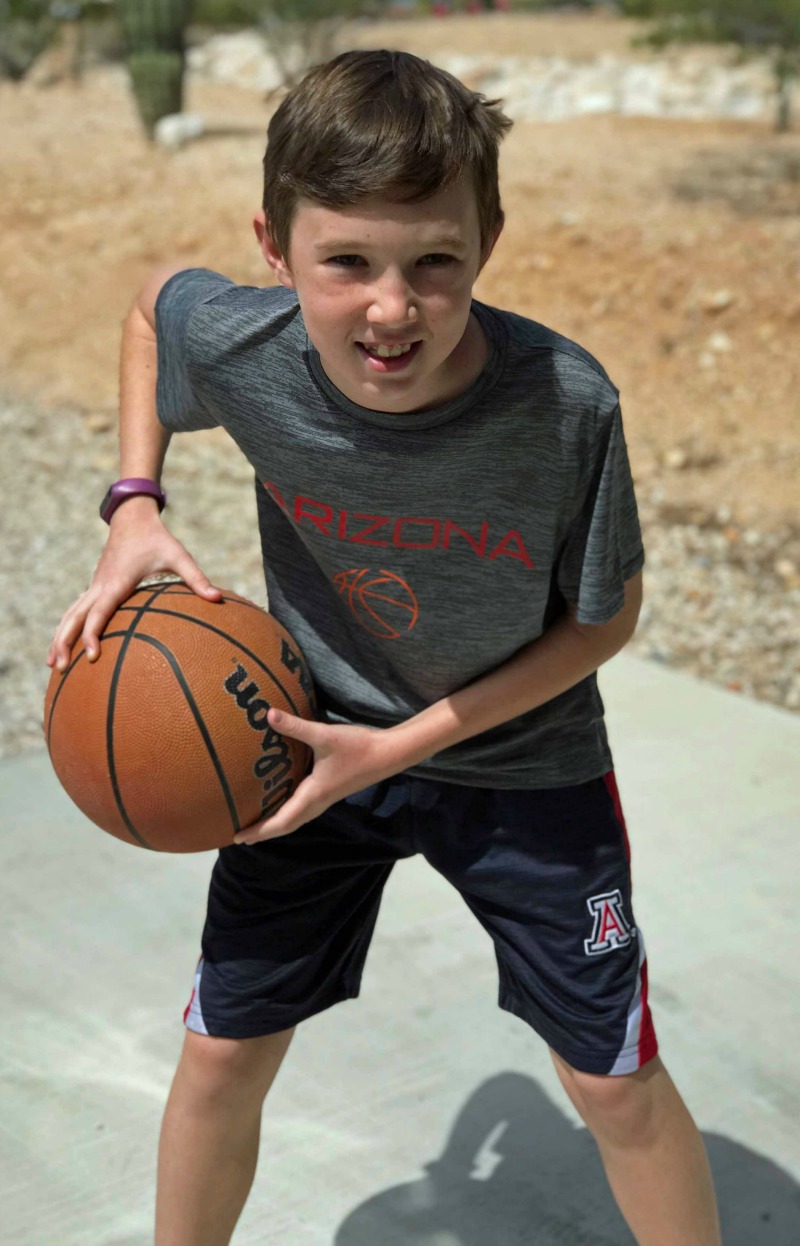
Are you ready to make your own custom basketball shirt?! Grab your Cricut Maker or other Cricut cutting machine, Circuit EasyPress, and SportFlex Iron-On and get started!
More Cricut Ideas
This is a sponsored conversation written by me on behalf of Cricut. The opinions and text are all mine. This post was originally published March 28, 2018.


Danielle j Edwards says
I am having the hardest time getting this to stick to my mat. Is it the mat? Or anything crazy? I am putting the shiny plastic side down. The bubbly side facing me
Karen says
Maybe your mat has lost its stickiness? I know my original mat doesn’t hold materials very well. I’ve never ‘cleaned’ a mat but if you google it, there are people that make their mats sticky like new.