This a sponsored post about Cricut baby onesie ideas is written by me on behalf of Cricut. All opinions are 100% mine.
The Cricut Joy is the perfect crafting machine for making simple little projects. I’m excited to partner with Cricut today to share share 3 little things to make with your Cricut Joy for a baby shower gift. Themed baby onesies, gift bags and a custom card.

What is the Cricut Joy?
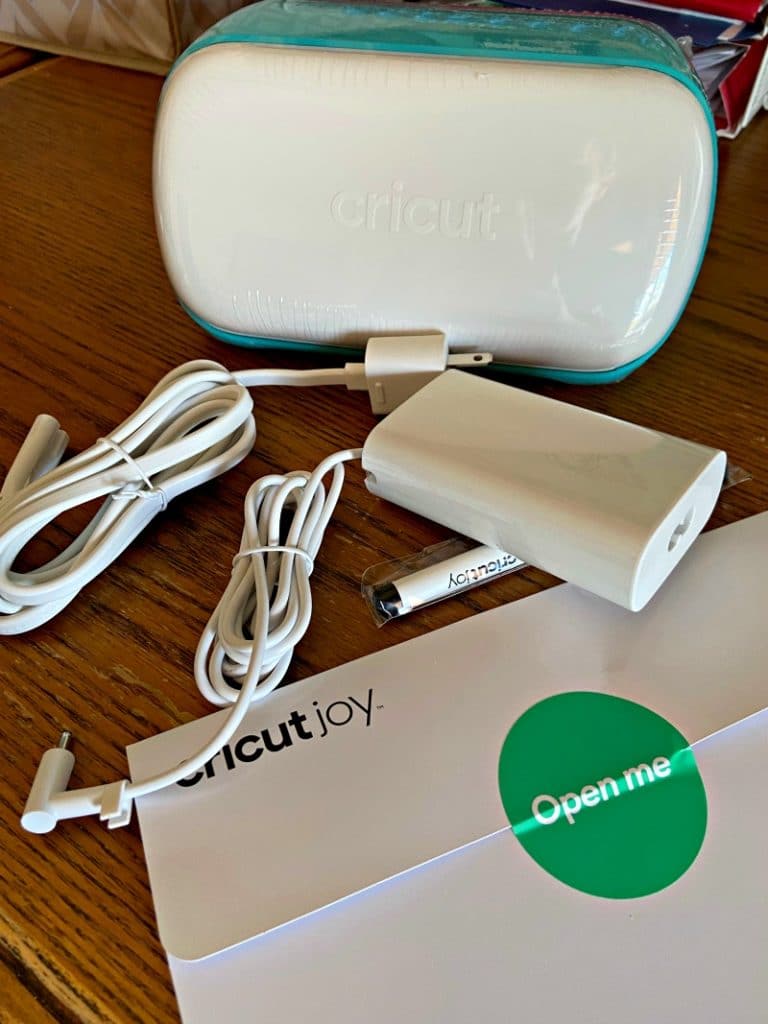
If you aren’t familiar with Cricut’s newest cutting machine, let me share what makes it awesome! The Cricut Joy is compact and portable, it easily fits on a shelf or countertop. Because it packs away easily and sets up instantly, you can move it from room to room. No craft room required. Just don’t tell my craft room that. 😉
Bonus feature? You can cut specially designed Cricut materials without a cutting mat using the Cricut Joy. Of course a tiny Cricut Joy sized mat does come with the machine, so you don’t have to use the Cricut Joy Smart Iron-On if you don’t want to. Cricut Smart Vinyl comes in lengths of up to 20 feet!

How Big Is the Cricut Joy?
Portable can be subjective so let me explain how portable it really is. It’s about the size of a small toaster and weighs under 4 pounds. Take it on vacation with you, or over to a friends house for a crafting party. You can craft anywhere.
It only takes a few minutes to unbox your Cricut Joy and link it to your device when you first set it up. And I mean it literally only took 5 minutes. I use my Cricut Joy with a MacBook but there is also an app that allows it to work with mobile devices like tablets and cell phones.

How Do You Turn on a Cricut Joy
Once you’ve set up the Cricut Joy for the first time, turning on the Cricut Joy each subsequent time is very easy. Just plug it in and connect via bluetooth.
Now that you are ready to start a project, open up Design Space and make sure you have your Cricut Joy machine selected. I love the simplicity of the Cricut Joy. There are no buttons on the Cricut Joy. There is only one cord, the power cord. Everything else is controlled within the Design Space app.

Make Baby Onesies with Cricut Joy
We always love making custom shirts with my Cricut Maker. So I considered making my boys’ new back to school shirts using my Cricut Joy for this post. But it turns out the Cricut Joy isn’t the only adorable new addition to our family this year. I have a niece arriving soon and I wanted to customize a few baby onesies for her. It made sense to share how to use the adorably small Cricut Joy to create a few adorably small baby onesies.
Sticking with one cut and one color, I was easily able to cut each design quickly (under 15 minutes) for each onesie. Now coming up with a design you like may take some additional time depending on how creative you are or want to be. I included links to my designs below if you want to make one of the onesies in this post.

How to make Cricut Baby onesies
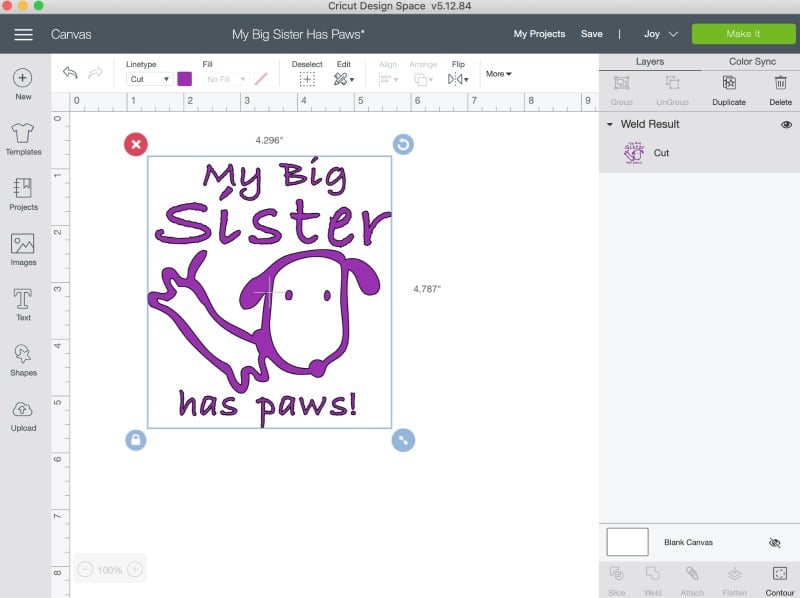
1. Open up Design Space and make sure the machine selected is the Cricut Joy. I had a few Cricut baby onesie ideas that I wanted to make and decided to just utilize the images available in Design Space. In this example I wanted to create a onesie with a puppy dog and added the words “My big sister has paws.”
2. Click on a the plus sign to create a new project. Then click the images icon to choose an image. Alternatively, you could also click the upload icon and upload your own image file.

3. I searched for a puppy image I liked and click insert image. Once the image is inserted into your project, you can manipulate the size and rotation. I also like to change the color to match the vinyl I am using so I can get a better overall feel for the design before I cut it. This step isn’t necessary, the machine doesn’t care what color vinyl it cuts.

4. Now add any text you want to the design. I added “My big sister has paws” and then adjusted the size, font and placement. Once you are happy with the design I suggest welding the design together, the machine will cut it exactly as it shows on the screen.

5. Then click the green ‘Make It’ button in the top corner. The next screen allows you to review your design and also tells you how much material you need to make the design. If you need to adjust the size, hit cancel to go back and resize the design. Once you’re ready to cut, be sure to turn on the Mirror mode before continuing.

6. If you have more than one Cricut device, the software may prompt you to select with Cricut model you are using. Then select the material you are working with. Popular materials will be shown but there is a link to browse all materials if you happen to be working with a different kind of material.
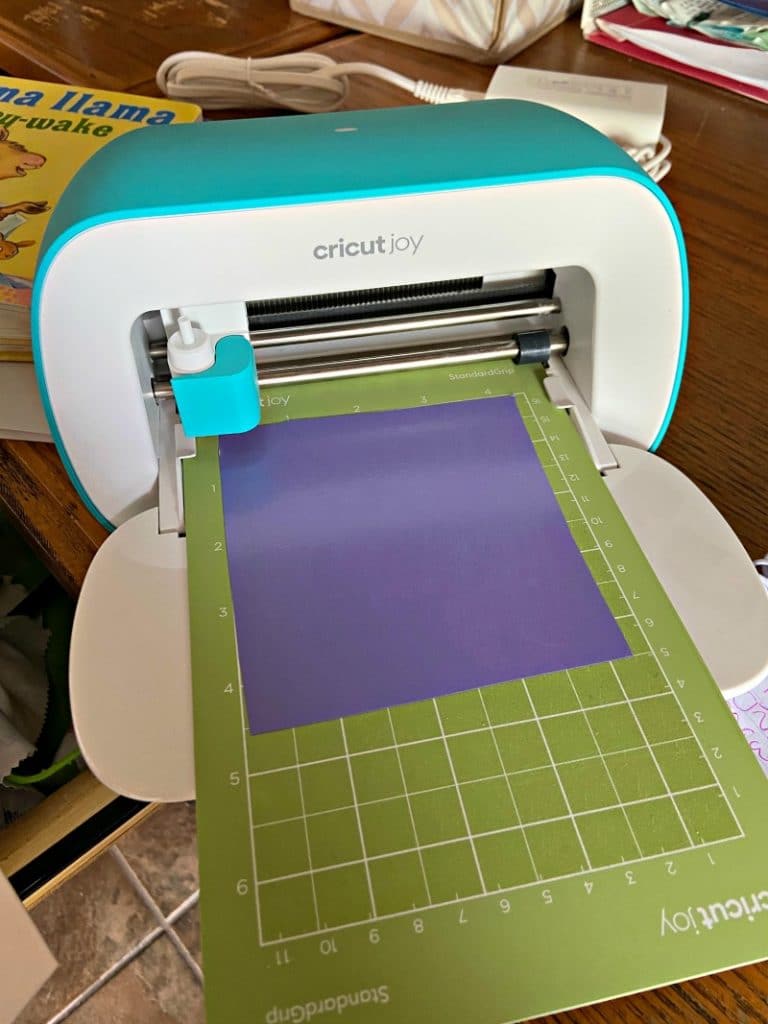
7. Now load the material into the machine. If you are using Cricut Joy Smart Material you won’t use a mat. If you are using different iron-on vinyl, you will need to place the material on the mat (shiny side down) first before loading it.

8. Once you’ve loaded the material successfully, click cut in Design Space. After the cut is finished, carefully weed the excess material from the design. Double checking the placement of the design before ironing it on. I always refer to the Cricut Heat Guide to determine the proper settings.

Cricut Baby Onesie Ideas
You can make your own cute Cricut baby onesie ideas easily within Design Space. Or if you like any of my designs, I’ve included links to the projects below so you can easily recreate them.

Customize Cards with Cricut Joy
I’ve never been a handmade card crafter. They’re cool, just not my thing to make. Mostly because I am terrible with scissors but also because my hand writing sucks. The Cricut Joy makes it so easy, it’s crazy! Using the special Cricut Joy Card Mat, card inserts and pre-made designs in Cricut Design space and you will have a cute card done in just a few minutes. No scissor skills or beautiful handwriting required!


Customize Gift Bags with Cricut Joy
I ended buying several baby gifts, along with the baby onesies I made for my new niece. When I was ready to start wrapping the gifts I realized I could actually theme the gifts together and create custom gift bags for each theme.
I added vinyl designs to plain gifts bags I already had. The llama gift bag had llama themed gifts, the sloth gift bag had sloth themed gifts, and my last bag was filled with the rest of the onesies and a few pretty outfits I found online. The last gift bag didn’t really have a theme so I decorated the bag with a welcome message. By the way, Princess David is not my niece’s name but rather a silly family joke. I may still call her Princess David on occasion though. 😉

If you decide to decorate gift bags, don’t mirror the image when cutting regular vinyl. Regular vinyl is applied directly on the bag like a big sticker.
More Cricut Projects
- Pixar Onward Shirt
- Artemis Fowl Shirt
- LEGO Halloween Shirt
- Beast Friends Forever Shirt
- Red For Ed Shirts
- Cars Land Halloween Shirt
- Dark Side Star Wars Shirt
- Jungle Book Shirt
- Thor Shirts
- College Basketball Shirt
This post was originally published August 31, 2020.


Leave a Reply