
Want to make Star Wars snowflakes for your Christmas decorations? These free Star Wars snowflake images feature favorite characters from a galaxy far, far away, and you can cut them by hand or use a Cricut cutting machine.
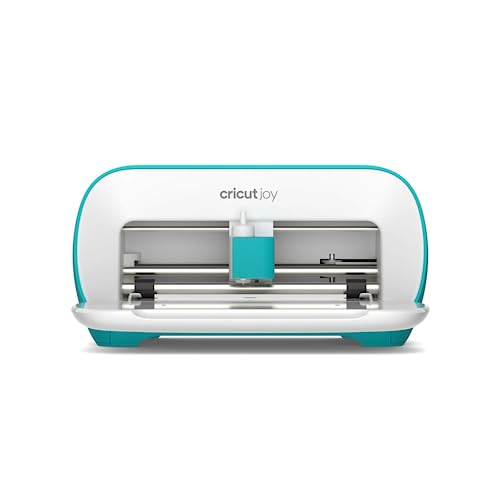
I love the intricate Star Wars snowflake designs created by Anthony Herrera, but cutting all those tiny details with scissors can be frustrating! Thankfully, my Cricut makes the process much easier. I’ll show you how to turn the free printable designs into Star Wars snowflakes using Cricut Design Space.

Easy Star Wars Snowflakes
You don’t even need a Star Wars snowflake SVG, I’ll show you how to upload a Star Wars snowflake design into Cricut Design Space. Then let the machine do all the heavy lifting, or in this case cutting! It’s the perfect craft to add to your Star Wars Christmas decorations.
Find Star Wars Snowflake Designs
Anthony Herrera created an amazing collection of Star Wars snowflake designs featuring characters, droids and ships. Unfortunately, his original website is no longer available, but you can still see many of his finished designs in this Star Wars snowflake gallery.

If you’re cutting snowflakes by hand, you’ll need a printable template. But if you’re using a Cricut, you can follow my instructions below to turn screenshots of the finished designs into cut files.
How to Make Star Wars Snowflakes with a Cricut
When designing my Star Wars Villains Halloween Tree I figured out how to utilize my Cricut machine so I could easily cut out lots of the cool Star Wars snowflakes. It was great because it added a lot of characters and color to our tree and saved me lots of time.
How to Upload Star Wars Snowflake Designs to Cricut
The Star Wars Snowflake design files are set up for printing the pdf and then cutting them out by hand. Alternatively you can take screenshots of the finished versions from the Star Wars snowflake gallery linked above and upload them directly into Cricut Design Space. Cricut doesn’t allow people to share uploaded files from Design Space which means I can’t share the actual template I created.
I can however outline the steps for you, so you can upload the files. Then cut your own snowflakes templates using your Cricut machine. It’s really rather simple and a good process to know if you ever want to upload a random graphic into Design Space.

How to Cut Star Wars Snowflakes
Download or screenshot a Star Wars snowflake design you want to cut. If necessary, adjust the image settings to create a solid color background. The snowflakes I chose had a cool galaxy background which is fun to look at but makes it hard to work with in Cricut Design Space.
Once you have an image you can upload it into Design Space.

If you are unfamiliar with how to do that, check out the tutorial below or the video above.
Star Wars Snowflakes Tips
- I recommend this basic Cricut tool set to help with removing the snowflakes off the Cricut mat. The spatula will help lift the design off the mat. The weeder can help you remove any excess paper from the snowflake.
- I also recommend using a light grip mat when working with standard card stock. A standard mat will work ok if it has lost some of its stickiness.

Star Wars Paper Snowflakes
It’s unfortunate that Anthony Herrera’s website is no longer active, he had a lot of great Star Wars designs. His designs are a lot more detailed than my own attempt at a Baby Yoda snowflake. But my design is more kid friendly and easier to cut out.

How To Upload An Image to Cut Into Cricut Design Space
When creating personal projects, you can upload any image including licensed images into Design Space. This tutorial shows you to upload an image into Cricut Design Space.
Tools
- Cricut Machine
- Cricut Design Space
Instructions
- First find the image you want to cut. You can search images on google but you can only use them for personal use. You can't sell things if you don't own the image or rights to distribute. I usually right click to 'save as' or will take a screen shot of the image if I can't download it.

- In Design Space, click the upload button then browse your files to select the image you want to upload. You can also drag and drop the file into the upload space.

- You will now see a preview of the upload image. I generally just want cut the outline of the image, so I select simple.

- The image will upload into the "select & erase" screen. The blue and white checkered background is the transparent part of the design. You can remove addition part of the image by clicking on it. If you accidentally delete part of the image you want to keep, just click undo.

- Once you're done editing the image, select continue and then save it as a 'cut image.'

- You new image will be available in your 'uploads' section. Select it and click insert images. The design will be added to your Design Space canvas.

Recommended Products
As an Amazon Associate and member of other affiliate programs, I earn from qualifying purchases.

More Star Wars Christmas Crafts
- DIY Lightsaber Christmas Lights
- Simple Baby Yoda Snowflakes with template
- BB8 Christmas Decoration – DIY Wreath
- Santa Chewbacca Cookies
This post was originally published January 1, 2021.

Leave a Reply