I am so excited to show you this easy Baby Yoda Cake tutorial. It turned out great but I was a little nervous attempting it. Take advantage of my tips and tricks, I am sure you will agree it’s super fun and fairly easy to pull off whether you call that adorable little alien Baby Yoda (like us) or The Child as Disney insists.

Easy Baby Yoda Cake
Elliot’s 10th birthday was last weekend and while we had to celebrate a little differently this year because of social distancing, we tried to keep the birthday celebration as normal as possible. Normal birthdays around here typically involve pizza, presents, family singing happy birthday and a fun homemade cake. My boys like to request special cake flavors and designs every year for their birthday. I’ve pulled off a few fun birthday cake designs with very limited skills, like a Minecraft cake and LEGO cake. This year it was no surprise that Elliot asked for a Mandalorian birthday cake, more specifically he asked for ‘The Child” as a birthday cake.
How to Make a Baby Yoda Cake
When my boys ask for a special birthday cake design, the first thing I do is look online for ideas or a special cake pan to make it easier. First of all there are some amazing cake ideas featuring ‘The Child’ online. I am talking standing up, 3-D Baby Yoda cakes that look super realistic. Cakes you’d see in cake competitions online or on TV shows from extremely skilled bakers. As fun as they are to look at, there is no way the average mom/dad can make that cake at home for their kid.
The Child Pan or Mold
Do you need a special Baby Yoda cake pan or mold? Well it would certainly make it easier but I couldn’t find anything. There are some adorable Baby Yoda cookie cutters but no cake pans. There are also some cute Baby Yoda cake toppers too, so if you end up just buying a store bought cake or making a basic cake shape, you can always add a cute Baby Yoda on top and call it done!
Baby Yoda Cake Tutorial
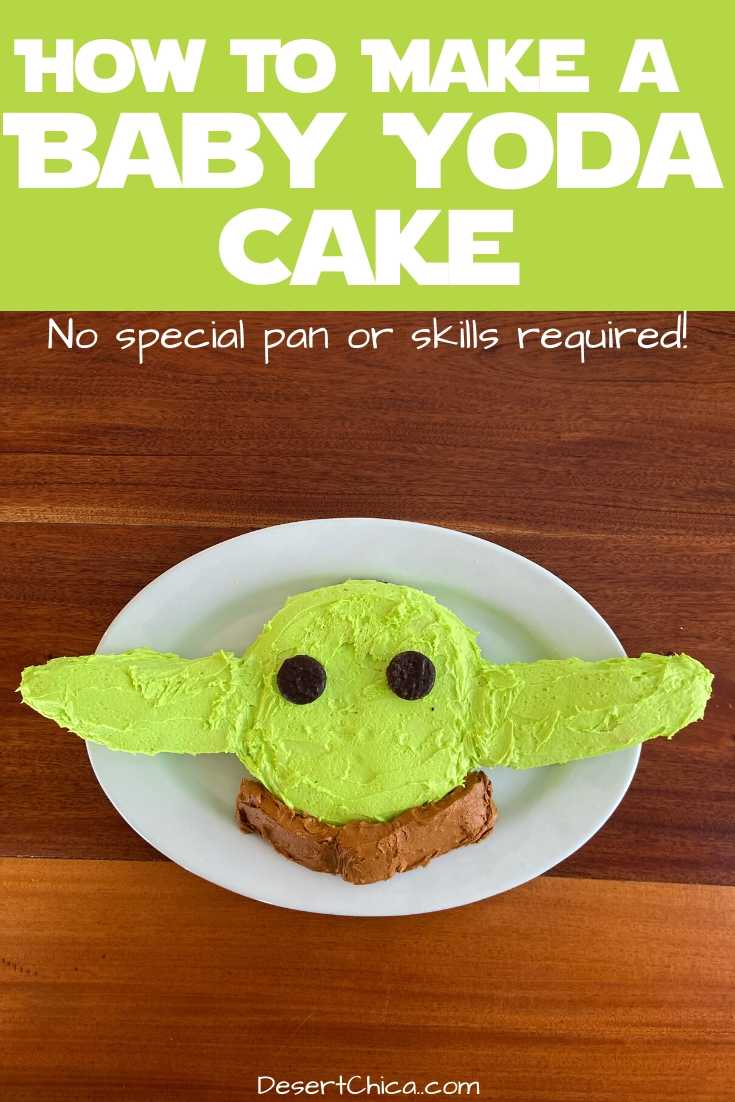
I think my Mandalorian themed cake turned out pretty fantastic given my limited skill set and I am super excited to share how I did it with you. The base of the design is a regular round cake for his head. The key detail for a Yoda design is his unique ears. I know professional bakers could just make a large cake and trim it down to the right shape. That would never work for me, I don’t have the skills or patience to slice designs out of baked cakes.
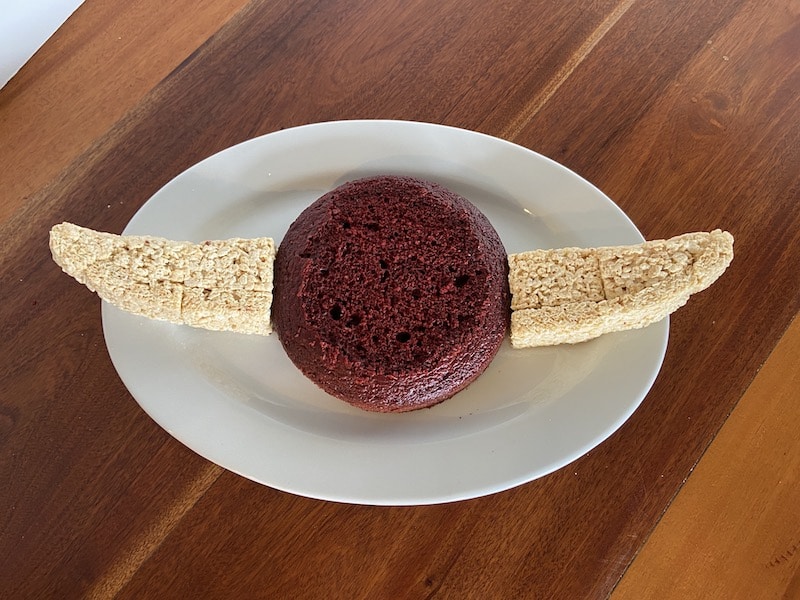
After brainstorming with one of my best friends, we came up with the perfect solution for Baby Yoda’s ears, which was my biggest dilemma. What is it? Rice Krispies Treats!! A couple of years ago, I realized that Rice Krispies treats make excellent building blocks for an easy gingerbread house. It turns out they make excellent building blocks for cake details as well!

The Child Cake Details
I used prepackaged Rice Krispies treats for this project. You could homemade Rice Krispies treats to use but you need to make you allow time for the treats to cool down and harden a bit. They can’t be so gooey that they fall apart when you are molding the cake details. I am fine with keeping things semi-homemade when attempting a cool cake design. Plus everyone was stocking up on Rice Krispies cereal during the corona virus pandemic and we couldn’t buy any. I was able to buy a box of Rice Krispies treats and ended up using about 15 1/2 treats to create design.
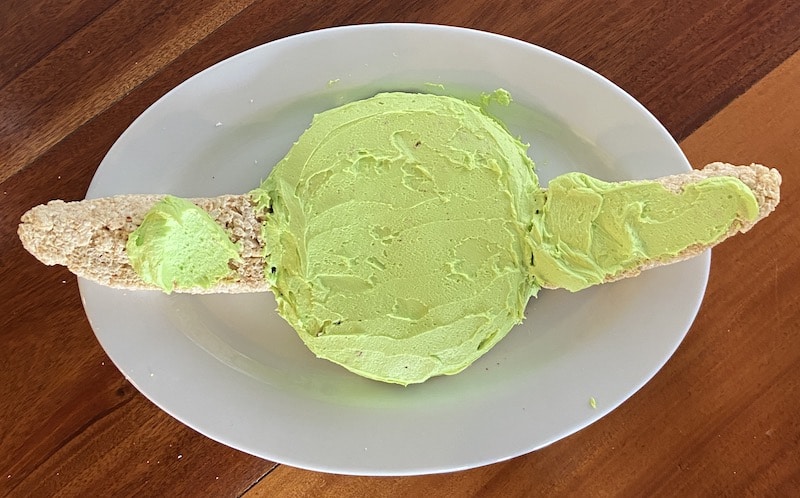
The photos above sort of illustrate the Yoda ear process. I started by stacking two treats together and then added two more at one end, thinning those ones out a bit for the ear shape. I realized the ears were too thin for the size of my Baby Yoda head, so I added a third layer of treats to bulk out the shape. I had a picture of Baby Yoda in front of me as I formed the ear shape. The Rice Krispies Treats are pretty forgiving to work with as you shape the ears to your liking. Once you make one ear you like, just follow the same pattern to create a second one.

I frosted the head and ears with a light green buttercream frosting. Getting the right color green for Baby Yoda is going to be a matter of preference. I have a food coloring kit with neon green that was a bit too bright. I ended up adding a bit more regular green to it to make it right shade. I recommend a this food coloring kit if you don’t have any at home.

Mandalorian Cake
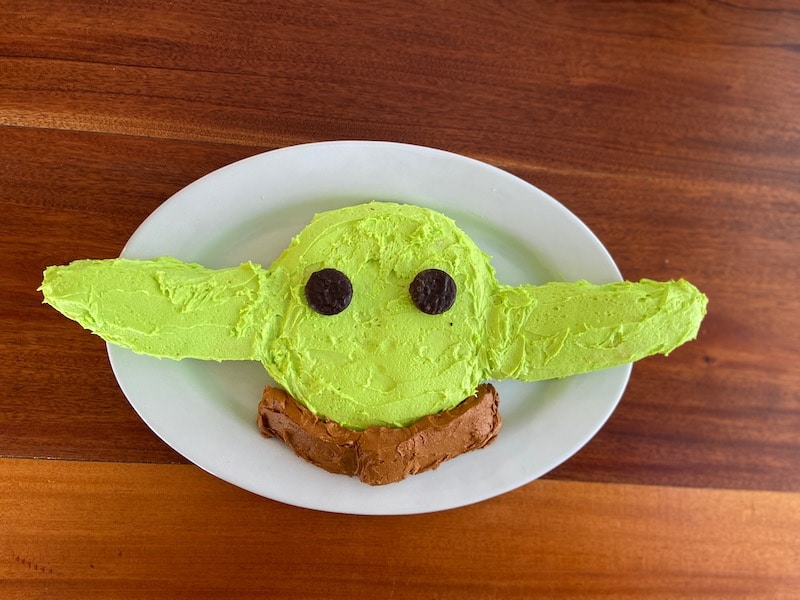
Once the head and ears were frosted I moved on to the brown collar. I think the extra detail of the brown collar makes it clearly a Baby Yoda cake, vs. just any old Yoda cake. I used the couple of Rice Krispies treats I had left to mold the collar. If I had more treats left, I might have made a thicker collar and laid it flat on the plate. Because I was down to my last few treats, I tilted the collar against the cake to make it work. It almost looks like peanut butter but I just tinted the leftover frosting with a light brown/tan color for the collar.

The last detail we added was eyes. I was almost going to skip the eyes and keep the cake as super simplified design. I’ve seen plenty of eyes that turn out creepy and I didn’t want to ruin my amazing Baby Yoda head. My husband kept throwing ideas at me and eventually suggested small York Peppermint Patties. The size seemed right in my head and I knew if I didn’t like it, I could easily remove them without messing up the cake.

As you can see, I did end up liking the eyes but if you don’t you could totally skip that step yourself. The bonus part of having the cake make partially of frosted covered Rice Krispies treats is that my husband who has a gluten intolerance could enjoy it too.

Baby Yoda Birthday Cake
I opted to make The Child as Elliot’s Mandalorian themed birthday cake. I think a Mando design would be fun as well, maybe we will attempt that one next time. What do you think? Pretty easy, huh?


Erin says
What size cake did you use for the head?
Karen says
My round pan is 8″. I hope that helps!